Hi Guys, We are going to give a solution for below error while adding git repository in Jenkins
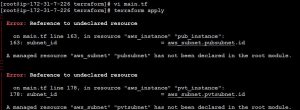
Failed to connect to repository : Error performing git command: git ls-remote -h https://[email protected]/ssabuthagir/devops.git HEAD
Mostly we will find this error while adding git repository in Jenkins.
Basically to integrate any tool with Jenkins, we have to install respective plugins. But, for git it is already installed when we initiate “Install Suggested plugin” option when we login first time in Jenkins dashboard after Installation & Configuration of Jenkins.
Now will come to solution for this error.
Solutions 1:
Basically git should be installed in same server where the Jenkins installed & configured.
Because while adding our git repo Jenkins will issue git command to check whether that repo is accessible or not by using below command
“ git ls-remote -h <git_repo_url>
this command will not work when we use this on server which is not installed with git. Because in Jenkins we need to provide git path even if it is installed or still getting error.
Solutions 1:
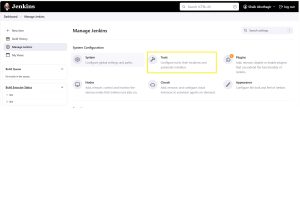
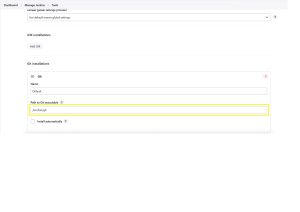
Below is the location where need to mention the path in Jenkins
Goto -> <Jenkins_URL> -> Dashboard -> Tools -> Git Installation
Under “Git Installation” git will mentioned in a text box there we need to provide the git absolute path
Then Apply & Save


Failed to connect repoThanks for reading this post. Expecting your support in future too.